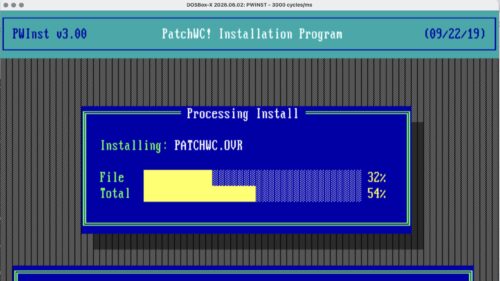
PatchWC! v3 running in DOSBox-x
After boiling the ocean with Claude paired up with DOSBox-X I finally have a followup to the “10310 BTInitIsam” error I wrote about in https://binaryfury.wann.net/2026/01/patching-wildcat-bbs-for-y2k-in-2026/. This was about the PatchWC program that applies Y2K patches to the Wildcat! BBS v4 software not being able to run in DOSBox-X. This may be helpful for other DOSBox-X users in similar other situations.
The TL;DR fixes:
DOSBox-X:
Since DOSBox-X doesn’t have true SHARE.EXE, this tricks the program into enabling the file locking it needs. Add to your DOSBox-X preference file (this is not exposed on the config dialog):
[dos]
drive z is remote = true
Plain MS-DOS or Windows 95 exited from the GUI:
Run SHARE.EXE or even MSCDEX.EXE first
Here’s the long detailed explanation I’ve come to understand from obsessing over why PatchWC! doesn’t work on DOSBox-X and works on other combinations of DOS. Not knowing all this really bugged me when I was trying to find another MS-DOS system to run the patch program on. It would work on one system and then a year later I’d need to run it again to find it would error out on me on another system. I knew other people in the BBS community were hitting the exact same problem and I wasn’t finding satisfactory answers.
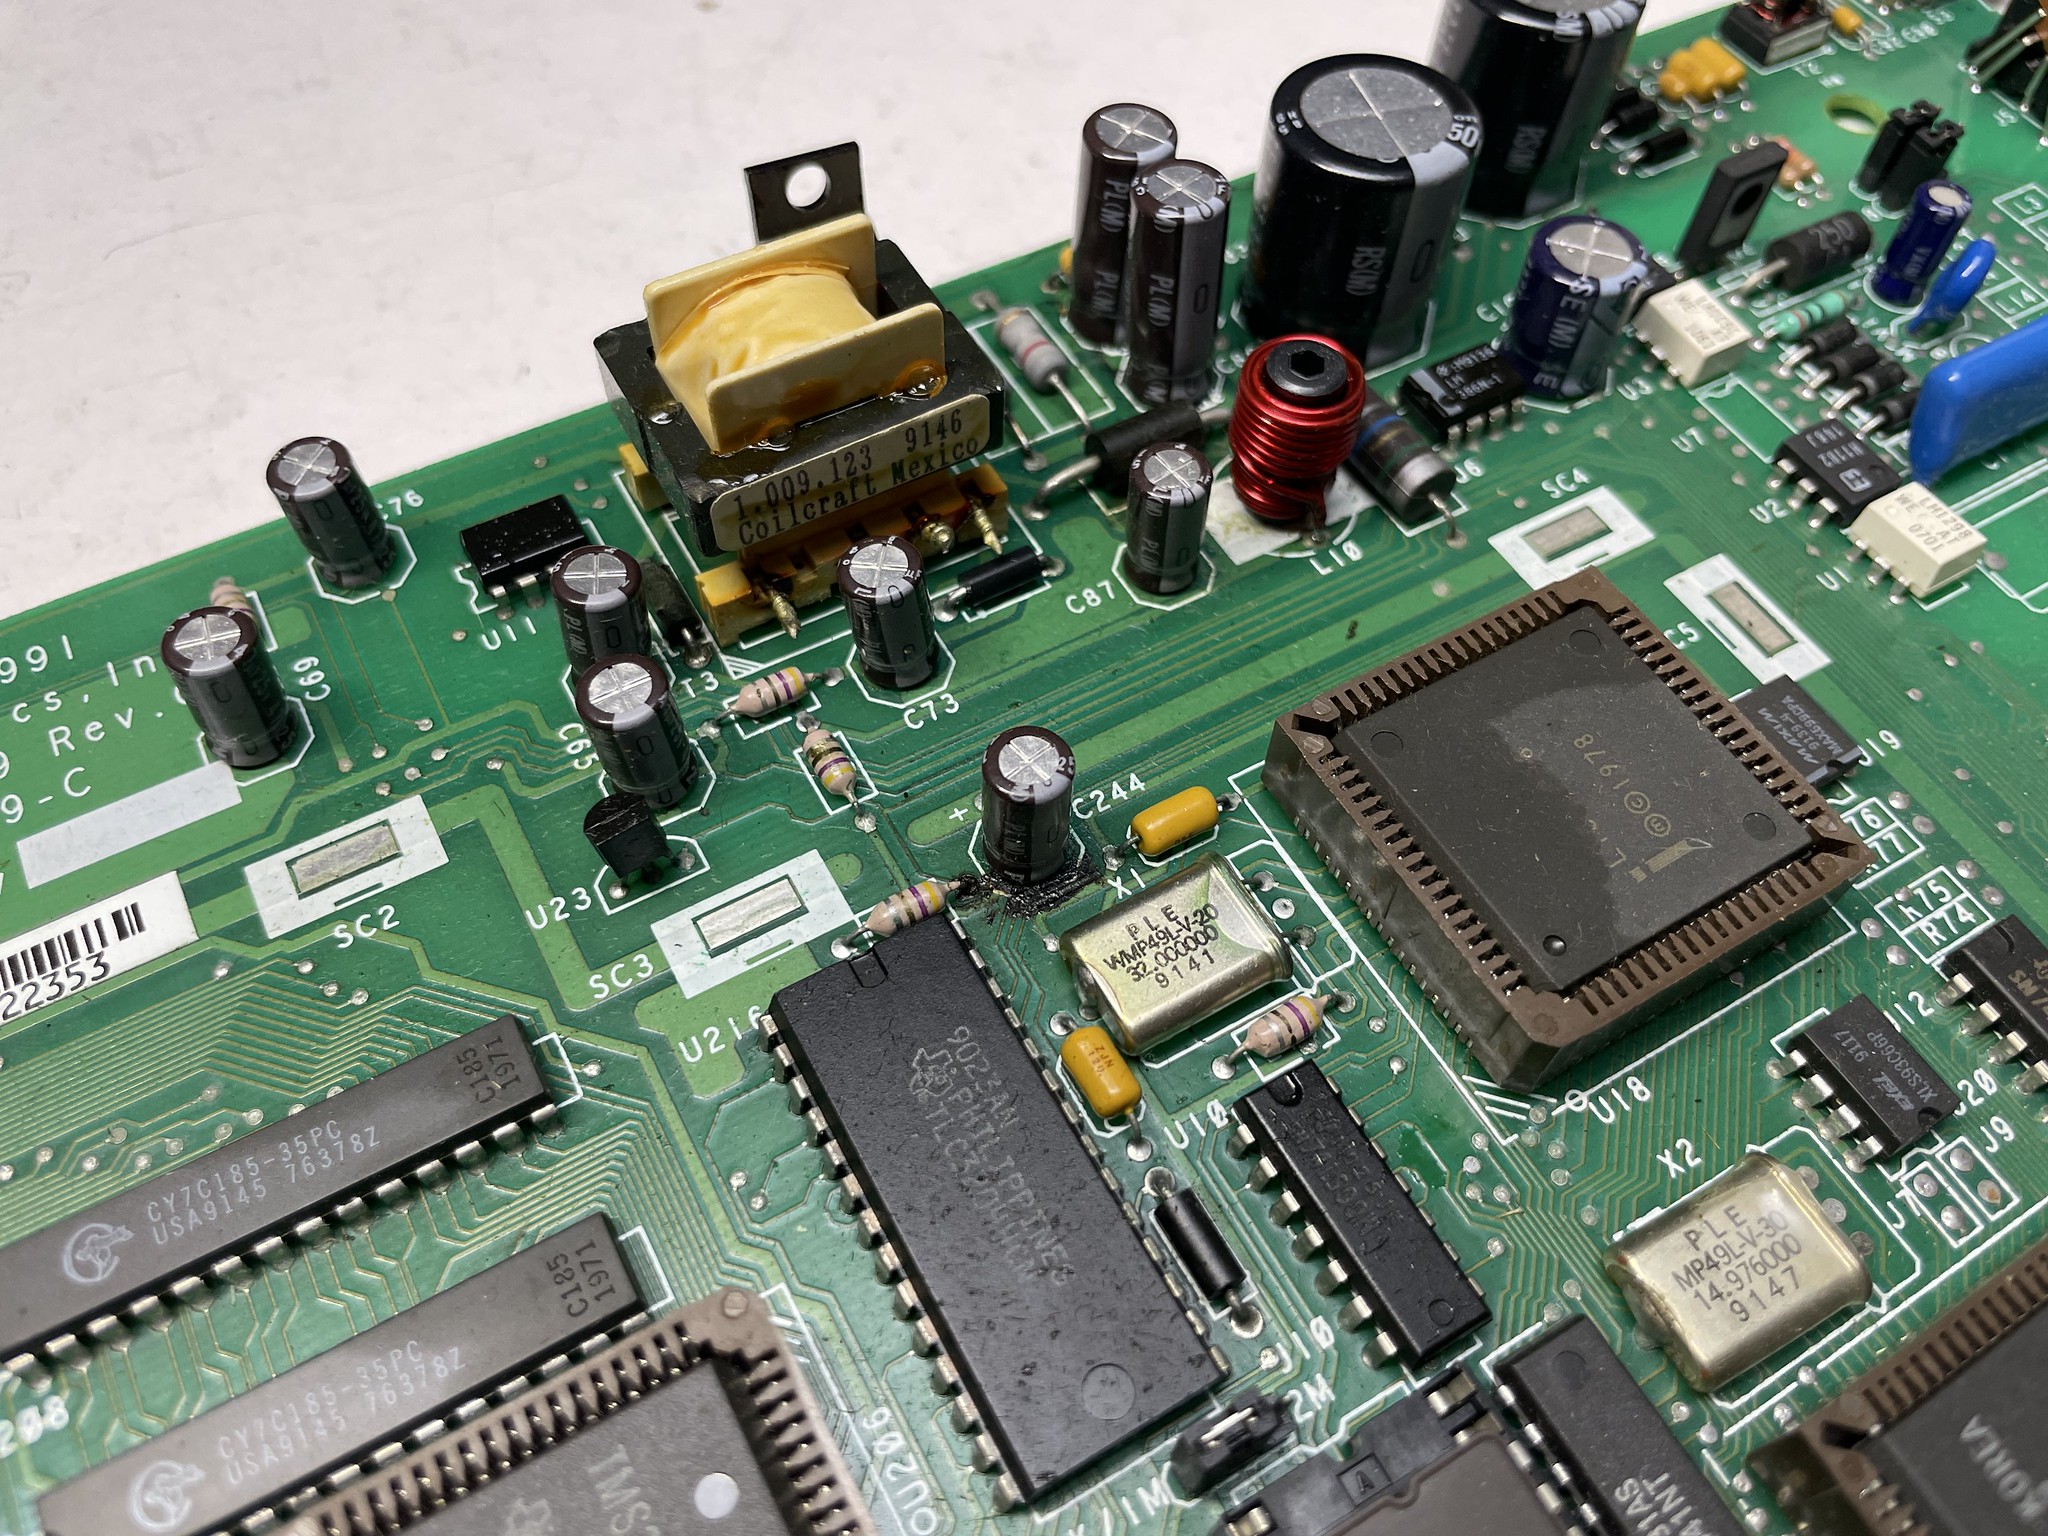
The PatchWC! v3 tool is linked against the TurboPower B-Tree Filer library (written in Pascal). I’m assuming the program has its own internal B-Tree database for managing patch sets even though it just has a single one today. Other possible uses for this library is that C:\WILDCAT could be a mapped/mounted Novell NetWare share and this lets the patch program safely handle locking while it does its work. Another plausible reason, and I don’t think that’s the case here, is to safely work with Wildcat!’s message/user databases directly (keep reading for an example of this). But I digress.
When the program starts and B-Tree code is called it tries to find out what kind of record-locking mechanisms it has available and if it is running in an environment where it needs to use locks. One is a direct NetWare-aware check, INT 21h AX=E300h, if function 11h is implemented. Two others are Microsoft-compatible checks, INT 21h AX=5C00h which could be backed by SHARE.EXE or a real live network redirector (LockCallDefined), or “is any drive remote” by using INT 21h AX=4409h IOCTL checks (ADriveIsRemote).
If all of these checks fail, then IsamInitNet returns false and then the BTInitIsam function fails and returns the error 10310.
When PATCHWC.EXE is run in DOSBox-X, the built-in SHARE.EXE support doesn’t implement record locking so the first check fails. Then the IOCTL check happens for all 26 DOS drive letters A: through Z:, and they all fail because they’re not considered “remote”. The Novell check fails, both Microsoft checks fail, thus it can’t figure out what locking to use and the 10310 error in DOSBox-X.
Why it doesn’t just proceed in a “single user” mode I don’t know.
Claude figured out and identified the INT 21h accesses using the DOSBox-X debugger and wrote a short PROBE.COM program to reproduce the behavior and point out which checks failed or worked. I tried it on my various test configurations and here’s the results. I didn’t boot FreeDOS this time around, but I assume the results are similar. I don’t know what it does under OS/2.
Interestingly, while MSCDEX has nothing to do with the network, it has a side effect that CD drives register to DOS as “remote” so that satisfies the “network” checking here. This was a Claude suggestion to see what it did.
Config                     AH=5Ch lock probe           Drive-remote?         PatchWC result
==========================================================================================
DOSBox-X,                  AX=0x01 Invalid Function    no                    Fails (10310 error)
  Z: remote auto/false
DOSBox-X,                  AX=0x01 Invalid Function    yes                   Success!
  Z: remote true
Win95 GUI loaded           AX-0x21 Lock Violation      n/a                   Success!
                           (legit return)
Win95 GUI exited to DOS    AX=0x01 Invalid Function    no remote drive       Fails (10310 error)
Win95 command-line only    AX=0x01 Invalid Function    no remote drive       Fails (10310 error)
DOS 6.22                   AX=0X01 Invalid Function    no remote drive       Fails (10310 error)
DOS 6.22 with MSCDEX,      AX=0x01 Invalid Function    yes, CD registers     Success!
 no SHARE.EXE                                          as remote drive
DOS 6.22 with MSCDEX,      AX=0x21 Lock Violation      n/a                   Success!
 and SHARE.EXE             (legit return)
Enabling something that looks like a record locking function or makes the system look like it has remote drives is enough to satisfy the program’s internal locking checks and proceed.
So if you’re one of the dozens of us working with Wildcat! BBS in one of these configurations, that’s what you’ll need to look out for. Ensure you’re running real SHARE, try running MSCDEX, change the dosbox config. Heck, fire up the NetWare client. This probably applies to a variety of other Pascal programs back in the day that might have also used this library too.
POSTMSTR.EXE 10310 errors
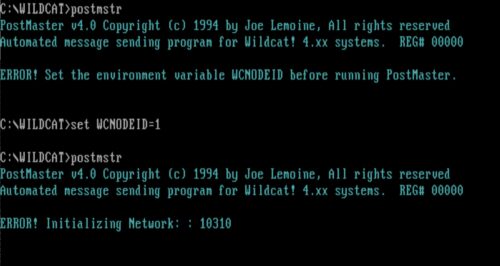
PostMaster 10310 error in DOSBox-x
Which segues into seeing the same sort of 10310 error in another BBS program last night with DOSBox-X that’s also fixed with “drive z is remote = true“. This one was kind of an accidental edge case I stumbled upon and was surprised to see it turn up in a totally different program.
I have been using an unregistered copy of Joe Leomine’s PostMaster program now for a couple of years to automatically send test messages on the BBS to ensure my UUCP mail and usenet system is working correctly. It works by directly accessing the Wildcat! message database to insert messages. My main mild annoyance is that it sends registration nag emails every day. I’ve set up a wcPRO filter to automatically delete them, but I’ve been after a way to avoid that with a fake registration code.
While poking at it with Claude to find a way to spoof registration codes (I don’t think the dude is around anymore to register a 30 year old program) I learned a couple of things. First, it modifies its own .EXE to keep count of how many times you’ve run it, to appropriately shame you for using it 27,436 times. Second, is that it can do its own networking checking similar to what PatchWC did. I’m assuming it’s doing very similar things because of its database access, which would need good, safe file locking to not corrupt things.
It turns out when running in DOSBox-X, with Wildcat!’s MAKEWILD “Network type” is set to “DOS Share“, and the PostMaster program is run it exits with “ERROR! Initializing Network: : 10310“. I hadn’t noticed this on the real BBS before and I think every other time I’ve messed with PostMaster in DOSBox-X it was apparently with “Network type” set to “None“. When set to “None” the program works just fine in DOSBox-X.
Running strings on the POSTMSTR.EXE binary I don’t see any of the same B-Tree code as PatchWC or really any telltale signs of what it database code it’s using, so I’m not sure if it’s using the same library or not, but it’s curious it had a very similar 10310 error in this situation.
However if I re-enable drive z is remote = true and restart dosbox, PostMaster works just fine even if “Network type” is still set to “DOS Share“. Neat.
I don’t know if every multi-user-possible DOS program follows this same heuristic of checking for SHARE and remote drives, but curious that it worked in both these cases.
Now I can finally rest and stop thinking about these programs in the back of my mind!
Claude Code with DOSBox-X
It’s fascinating seeing Claude Code interact with DOS / DOSBox-X. I’ve found a couple of ways to bolt them together, one was over a serial cable, another was hacking an MCP onto DOSBox-X to give it a toe hold. The first time I tried working on the DOS programs in this post this Claude Code would spawn DOSBox-X with the debugger, then take screenshots of my screen to see what the debugger and the VGA output of the DOS session looked like. It was very slow and clunky but it just figured it out. The second time it figured out it could run DOSBox-X in headless mode. I don’t know what it was doing behind the scenes but it was launching and iterating over DOS programs much quicker.
I was very amused while working with PostMaster it eventually gave up trying to prompt me through the debugger to find the registration algorithm and was just “do you want me to patch the binary so it works instead”?


